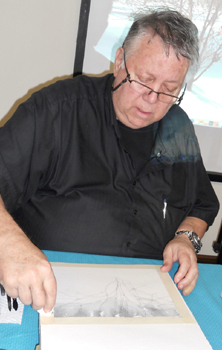
We spent a fun
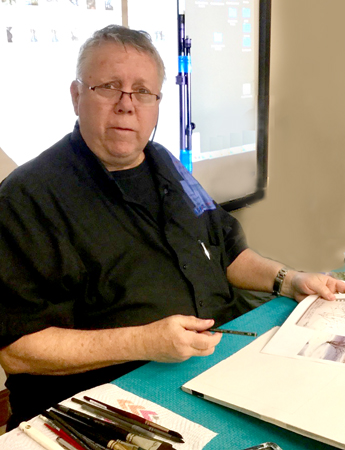
Saturday, learning to paint Trees in Watercolor with artist,
David Rankin. We thank David for another fantastic
workshop...it was a full class! David's goal was for us to
become better tree painters! The class objective was not to
complete a painting, but to learn techniques that would allow us
to sketch any tree in nature, as well as learn key tips on how to
paint them, such as the use of merged brushwork in order for the
trunk, limbs and foliage to merge into one shape.
David talked about his favorite art books that influenced him from
the age of 16. By studying and totally understanding Ted
Kautzkys techniques in his books, "Ways with Watercolor", and
"Painting Trees and Landscapes", David won three art scholarships.
To quote David, This guy, Kautzky, was a freakin genius!
Today, young artists have no idea who he is, he quipped.
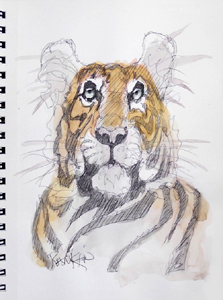
David showed several examples of sketchbook art where he used the
techniques we'd be learning in class.
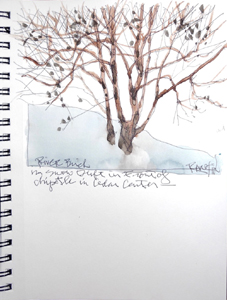
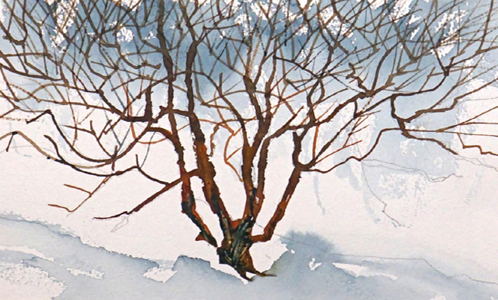
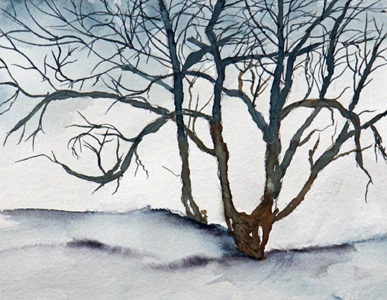
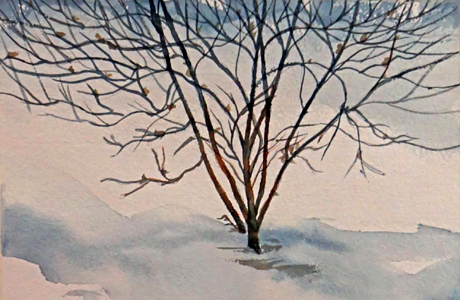
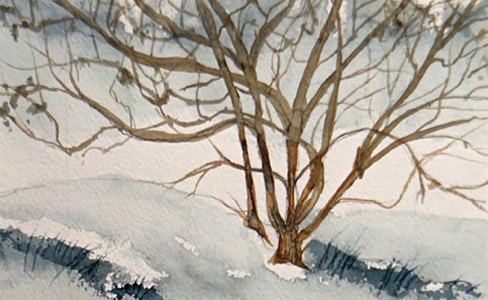
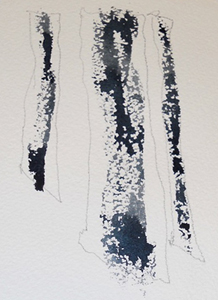
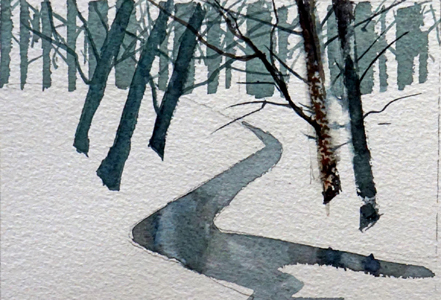
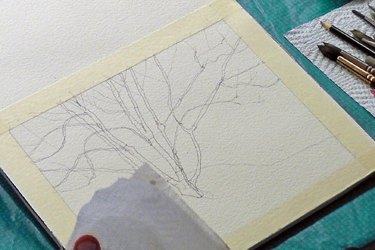
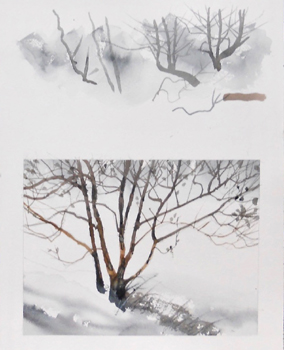
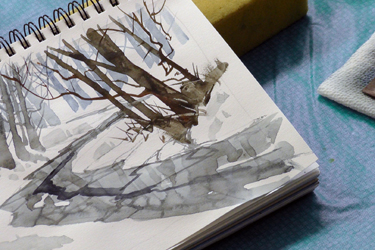
Using a picture of
a River Birch in a snow drift as reference (third image above),
David showed us how to approach sketching the tree, and reminded
us that this method works for any tree. Draw shapes, he
said, "watch the background, simplify it, eliminate details and
capture essentials". Start by drawing most trees from
the bottom up. Placement is important, where you place the
trunk in the ground. Sketch the strongest branches first,
using the stop and go method (without lifting your pen/pencil from
the paper, draw a bit of the line, then stop and look at your
subject to see where to go, then continue drawing). You can
add an abstraction of little branches later. Key points that
David emphasized; "Draw what you see, draw it in pieces, and dont
lift your pen off the paper while sketching the image."
Also, he recommended we keep our studies small, 5 x 7 inches is a
good size. If you cant paint a small study that you like,
you are not ready to do a large one. FYI...David sometimes
uses a ballpoint pen to draw for his sketches because it forces
him to focus on the composition and shapes, since he can't erase
and try again. Not that David would ever need to erase - he
makes it look so simple!
 |
 |
 |
|
David finishes
background layer |
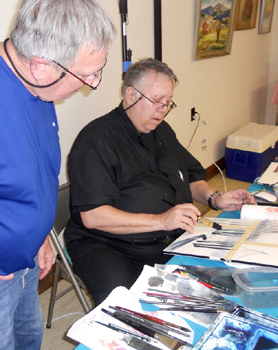
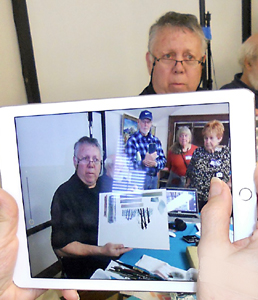
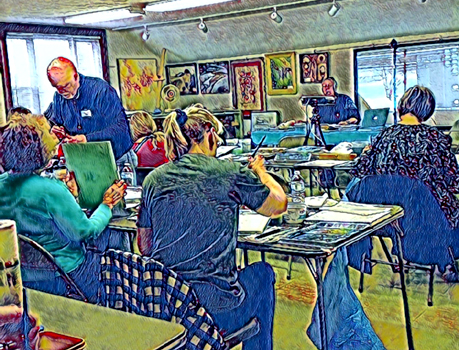
EAA president
Lee Peters - transforms class photo into art |
David gives
personal pointers to class members |
 |
 |
 |
 |
|
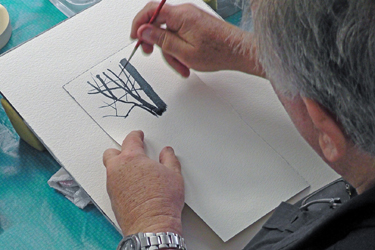
Initial pencil
drawing |
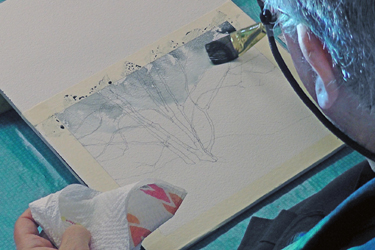
Laying in
background color |
Working on
branches |
Tree branches
done, now add details, snow |
 |
 |
 |
 |
|
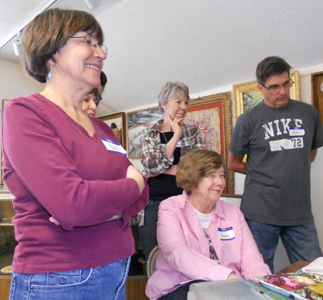
Students observe
David's technique |
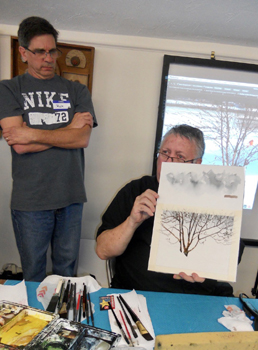
David displays
work in progress |
David's trees,
nearly done |
David's final
version... |
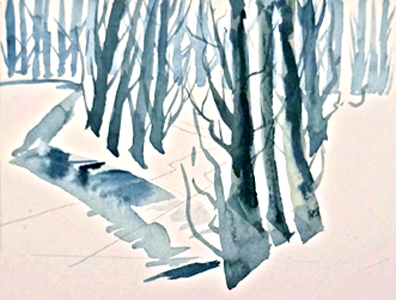
After a break for
class members to do their own tree sketches, David demonstrated
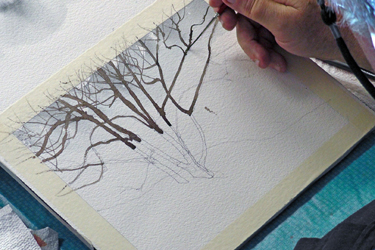
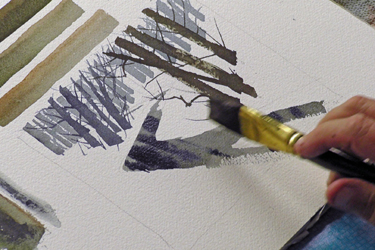
adding paint to the sketch. Putting paint on the paper in
the right sequence determines success, he said. Starting at
the top and moving down, working from left to right (unless you
are left handed), David added a background wash of Paynes Gray,
watered down midway through. After drying the initial work,
he painted branches (Burnt Sienna & Paynes Gray) using merged
brushwork, working quickly from the top down, occasionally using a
rigger brush to merge the larger branches into smaller branches as
you go. It is important to elevate the top of your pad or
sketchbook 3 inches, creating 3 inches of gravity that allows a
bead of paint to form, which helps keep the paint from drying out
as you move the bead down the page and paint one area after
another.
Time seemed to move quickly.....before we knew it, it was lunch
time. Here are a few of the student tree paintings...
each student adds their own experience and artistic vision to the
painting
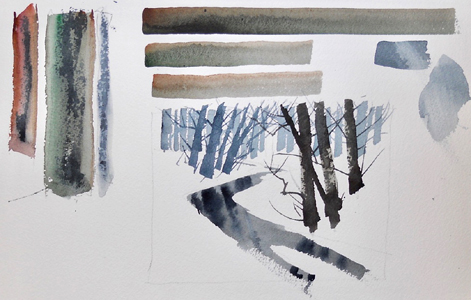
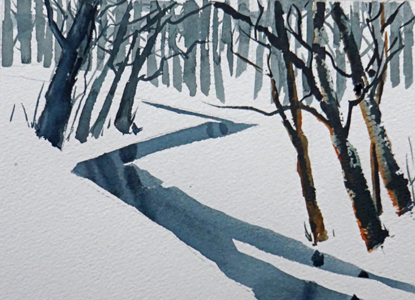
After lunch, we
created a small, simple winter scene with trees in deep snow
beside a stream. David introduced several new techniques.
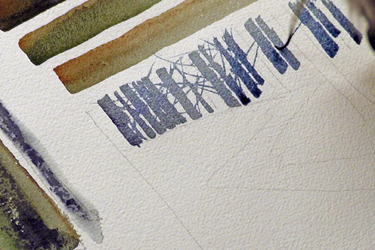
Using a lighter value of Paynes Gray and merged brushwork, he
painted an illusion of a stand or block of trees all across the
background. As he moved from background to foreground, he
made the trees larger and a little darker, still using merged
brushwork. The contrast of the darker trees to the lighter trees
created an amazing illusion of depth. Then he painted the
major foreground trees, distinguished with lovely bark and
lighting, making them look rounded and beautiful.
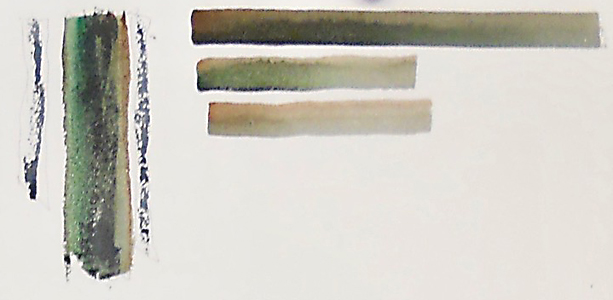
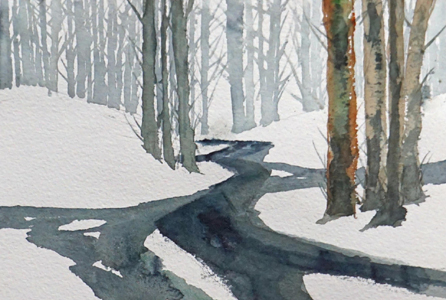
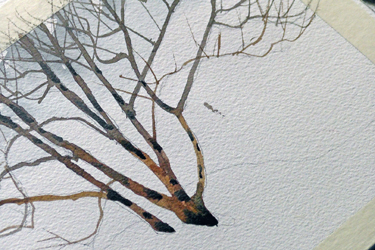
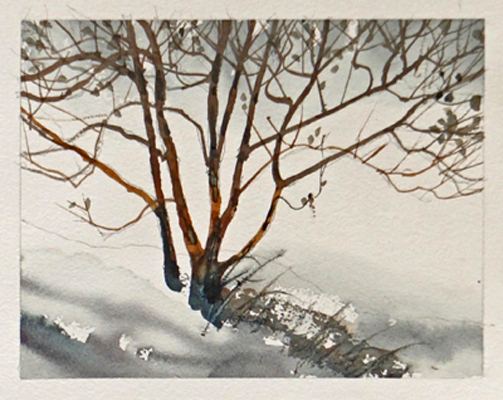
David showed us how
it was done, in just two steps. For the bark, he painted down the
center of each trunk using the shoulder stroke (either edge of the
brush, with the brush held nearly horizontal to the paper), making
sure to put enough pigment on the brush to last from top to
bottom. Second, he washed over the whole trunk with a light
value of Burnt Sienna on one side of the brush and Hookers Green
on the other. For the finishing touch, he used his rigger,
loaded with Burnt Sienna, tilted at a steep angle, to create a
narrow broken line down each edge of the trunk. Magical!
And to again quote David, Its stupid simple!
 |
 |
 |
 |
|
Initial work to
establish the background treeline |
Darkening some
trees to bring them forward |
Adding the
stream |
Finalizing
details and color |
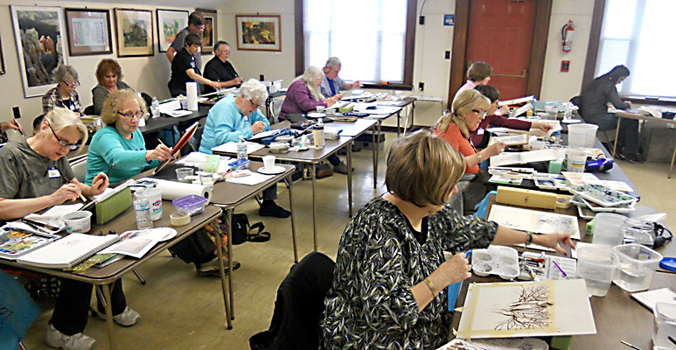
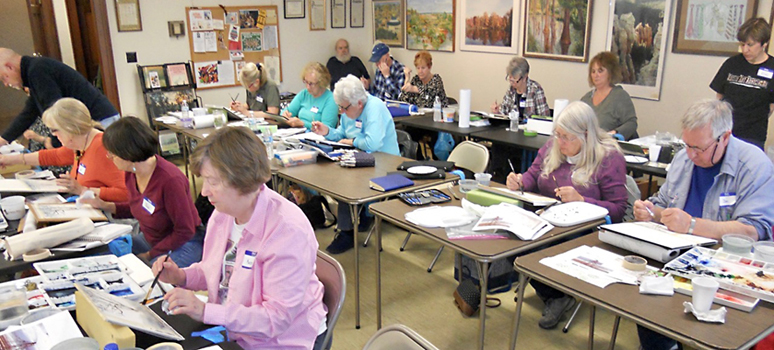
As we worked on our own sketches and paintings, David spent time
with each of us, helping to improve our techniques.
Great class, David! We look forward to a fall workshop with
David on How to Develop a Sketch Book and Travel Journal.
He promised to take us on a sketchbook journey to India.
Watch for details on our website, EuclidArt.com.
Here
are several of the student paintings from the afternoon session...
 |
Also, we give
special thanks to Joan, Sandi, Ellen and Jim for the
delicious goodies they brought for us to enjoy. |